
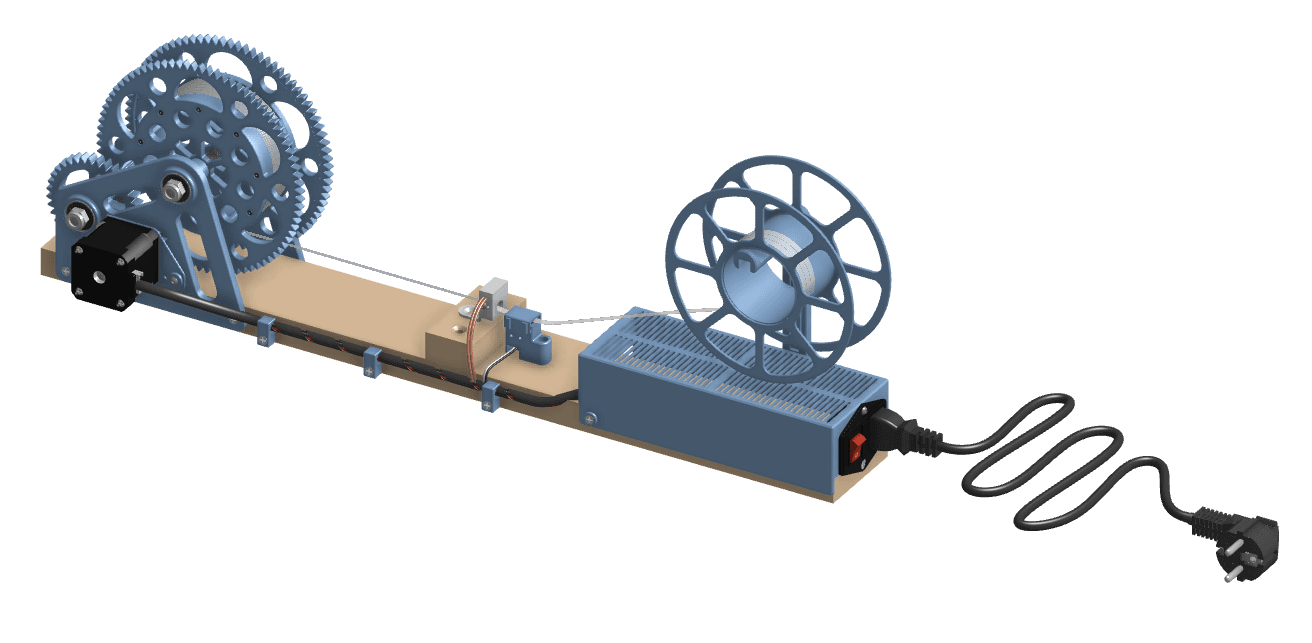
v1.5 — PET bottle to 3D filament. Machine assembled and ready to run. Bottle cutter not included.
Safety
- Avoid touching hot areas (heater block, nozzle) and moving parts of the machine.
- Wear protective gloves while you get used to the handling.
- Work in a ventilated place and keep the machine on a stable surface.
- Unplug the machine before opening the electronics box.
Specifications
- Dimensions: 60 × 18 × 13 cm. Packed weight: 2.4 kg.
- Rated voltage: AC 100–240 V, 50/60 Hz.
- Max. current: 5 A. Max. power: 60 W.
- Speed: 5–35 cm of filament per minute, factory setting: 25.
- Temperature: 180–230 ºC, factory setting: 210.
- WiFi: network
PETALOT-XXXXXX, web interface athttp://192.168.4.1
Installation
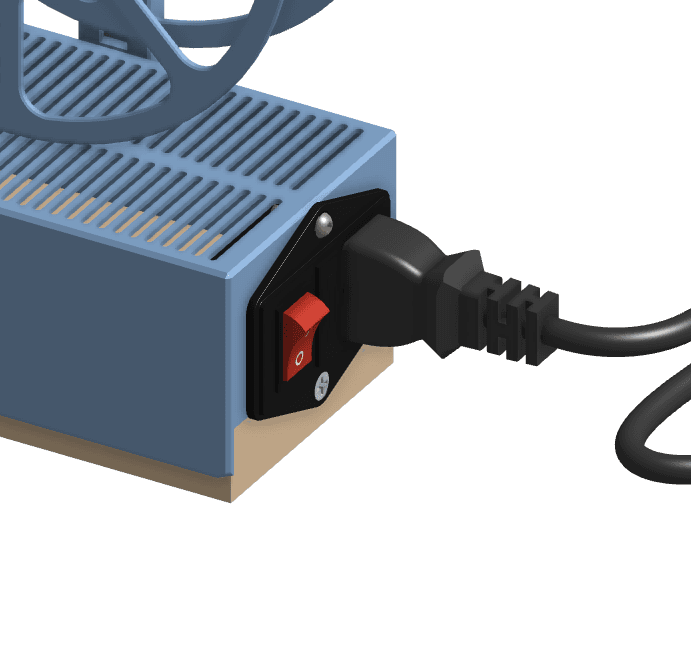
- Take the machine out of its packaging.
- Plug it into a power outlet with a cable according to your country.
- The machine starts heating at power on. If you want it to stay idle until you press start, turn off Start on power on in the web interface.
What you need
You will need to source a few basic tools yourself:
- A power cord suitable for your country, only if you bought the machine without one: the PETALOT can be ordered with the cord for your country included.
- A cutter, scissors and a wire cutter.
- Pliers, to pull the strip and the filament.
- A rag, soap and water to clean the bottles.
- A solvent, to remove glue residue from the labels.
Selecting the bottle
The best bottles are flat and have a wall thickness of 0.2 mm or greater. Bottles thinner than this are usually small and will produce very little filament.
Preparing the bottle
Clean the bottle thoroughly, both inside and outside. Use water, soap and solvent to remove any dirt or adhesive residue.
If the plastic is not completely clean, it can negatively affect the filament quality, making it difficult or even impossible to use for 3D printing.
If the bottle has a textured surface, it must be smoothed before cutting.
Cut off the bottom of the bottle and create a small starter tab to begin feeding it into the bottle cutter.
Cutting the strip
The width of the strip depends on the thickness of the bottle wall:
| Thickness | Width |
|---|---|
| 0.20 mm | 10 mm |
| 0.25 mm | 9 mm |
| 0.30 mm | 8 mm |
| 0.35 mm | 7 mm |
Start cutting and measure the strip width. Adjust the guide by tightening or loosening it depending on whether you need more or less width.
Before cutting the entire bottle, produce a short strip and test it to ensure the settings are correct.
Although not always necessary, if the strip width is inconsistent, applying slight tension by hand can help keep it uniform.
Pull the strip smoothly, firmly and steadily toward you and slightly upward.
Instructions
- Turn on the machine and remove the guide/sensor cover.
- Disengage the motor from the gears.
- Insert the beginning of the plastic strip through the block and the nozzle.
- Wait for the blue light on the electronics box to stop flashing. When this happens the nozzle has passed 180 ºC, enough to start pulling the plastic strip; the temperature will continue to increase up to the set value.
- Use pliers to pull the plastic strip.
- Manually pull approximately 10 cm of filament and cut the beginning of the filament.
- Fold the beginning of the filament and manually extrude a little more.
- Hook the doubled string onto the folded tip of the filament and slide the tube over the joint: the tube is what keeps the string and the filament linked.
- Slide the motor to engage the gears and start pulling.
- Place the sensor/guide cover on top, trapping the strip inside.
- When finished, disengage the motor to release the gears and pull the filament out.
Points to Consider
- The inner side of the bottle should ideally become the inner side of the filament.
- Avoid touching the nozzle tip with pliers when starting to pull the strip, as this can deform the orifice.
- Do not leave the filament inside the machine for extended periods, as it may deform and retain an unwanted shape.
Guide/strip sensor
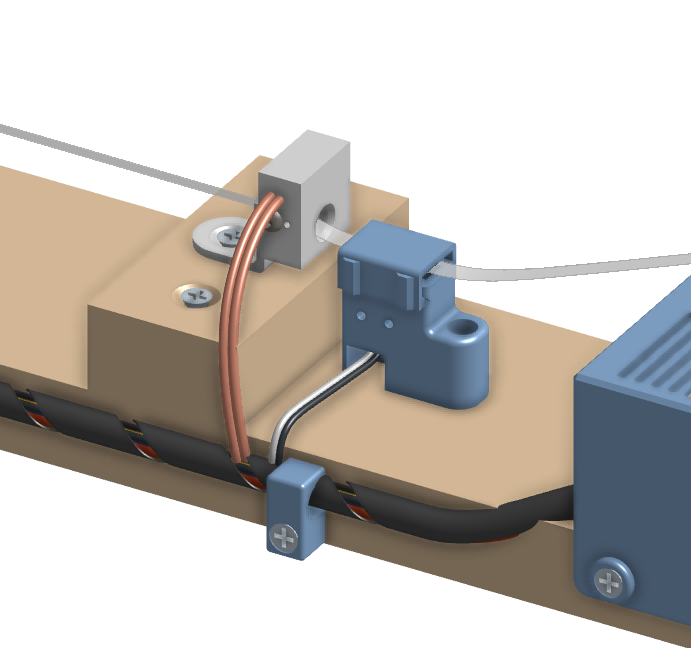
The strip sensor plays an essential role in the operation of the PETALOT machine.
Thanks to the strip sensor the machine will stop when the end of the plastic strip is reached, preventing the filament from getting tangled in the gears and breaking them.
The strip sensor also acts as a switch to start the machine: after the first plastic strip has been converted into filament, and after the finished filament has been removed from the machine, press the strip sensor to start the machine again, so it heats up and rotates the motor, ready for the next plastic strip.
The machine will also stop after 5 minutes running if no filament is detected during this time.
In the same way you can stop the machine at any time, thanks to the strip sensor, by removing the cover and the filament from it, or by simulating the end of the filament: press the sensor for 5 seconds and release it.
WiFi web interface
To access the WiFi web interface from a mobile device, connect to the WiFi `PETALOT-XXXXXX` and navigate to the address `192.168.4.1`.
From the web interface you set the working temperature and speed, and you can stop the machine.
Optional: enter your home WiFi SSID and password so the machine can check for firmware updates over the internet (Settings → Advanced).
Joining filament and printing
- Do not join the flat strips. Extrude each bottle individually into filament first, and then fuse the finished filaments together. Joining the round filament is much easier and produces a strong, uniform diameter: splicing jig.
- Join the two filament ends with heat and protect the joint with a short piece of tube.
Starting points for printing recycled PET. Flow ratio depends on the bottle and must be calibrated for every batch:
| Setting | Value |
|---|---|
| Nozzle | ≥ 255 ºC |
| Bed (textured PEI) | ≥ 65 ºC |
| Flow ratio | ≥ 1.20 (120 %) |
| Layer fan | 20–40 % |
| Max volumetric speed | ≥ 3.5 mm³/s |
Use a textured PEI sheet: recycled PET bonds very strongly and can tear smooth surfaces. Let the bed cool down completely before removing the part.
Tested profiles per printer (nozzle 242–268 ºC, flow 1.17–1.30): https://function3d.xyz/printing-pet-tested-starting-profiles/
Care
Clean the gears and the nozzle area after use. Keep the machine dry and dust-free, and do not store filament inside it.
Links
- Full process, from bottle to printing (video): https://www.tiktok.com/@function.3d/video/7465315703470656770
- FAQs: https://function3d.xyz/faqs/
- Spare parts and BOM: https://function3d.xyz/bom/
Contact: [email protected] — @function.3d