
Making your own 3D printing filament from recycled PET bottles through pultrusion is a rewarding process, but getting your 3D printer dialed in for this material can bring up a few questions along the way.
To help you succeed with your PETALOT machines, tools, and kits, I’ve compiled a list of tested starting profiles for various 3D printers I own or have tested.
Practical Advice for Successful PET Prints
Before importing a profile into your slicer, keep these essential recommendations in mind—learned from real-world testing and common community questions:
- Calibrate Your Flow Ratio (Extrusion Multiplier): Flow ratio is the single most critical setting when printing recycled PET. It varies depending on bottle wall thickness and strip uniformity. Treat the values in these tables as a starting point, but always calibrate the flow ratio for your specific material and re-check it with every new batch of filment.
- Bed Adhesion & Build Plate Selection: Recycled PET bonds extremely strongly to build surfaces. Textured/Rough PEI sheets are strongly recommended. Avoid printing directly onto smooth glass or smooth PEI without a release agent (such as glue stick or hairspray) to prevent pulling up parts of the bed surface upon removal. Always let the bed cool down completely before removing your prints.
- Layer Fan Tuning: Unlike PLA, which requires 100% cooling, PET needs low-to-moderate cooling (typically 5% to 40%) to ensure maximum layer strength and structural integrity.
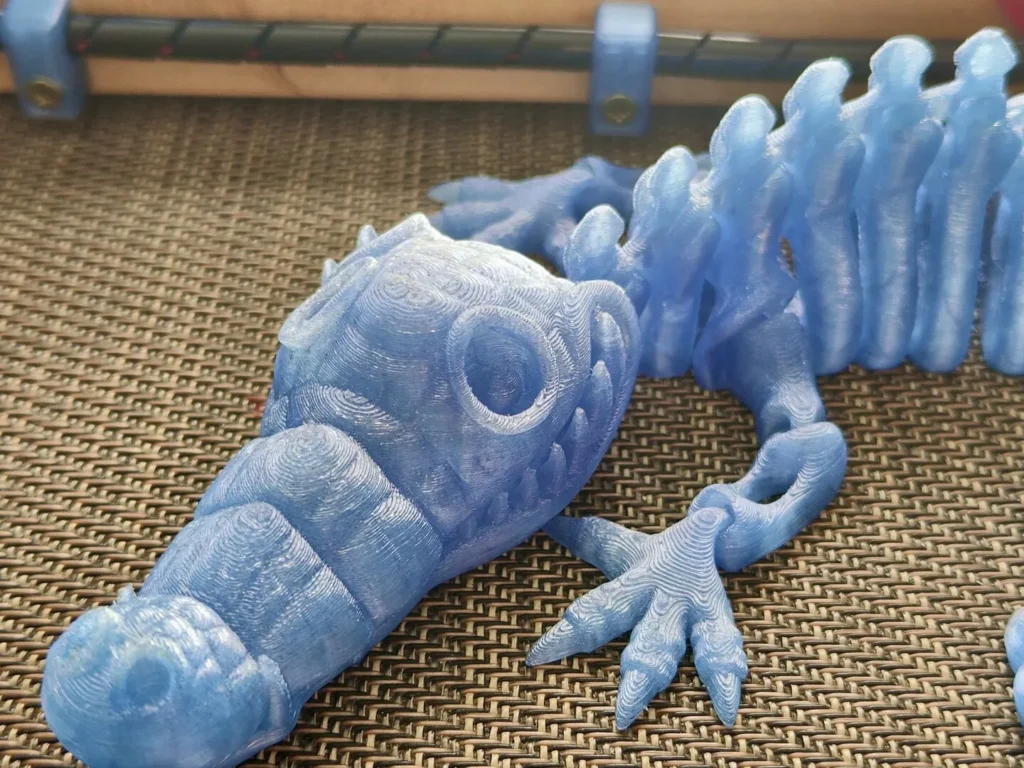
- Designing for Recycled PET: Recycled PET produces strong, tough parts. However, if a thin or delicate joint snaps under heavy impact, the broken edges can be rigid and sharp. For functional models or toys, it is best to design robust, single-piece structures rather than thin, highly articulated parts.
- Making Continuous Spools (Splicing): To make large spools from multiple bottles, extrude each bottle individually into filament first, and then fuse the finished filaments together. Do not attempt to solder or join flat bottle strips before passing them through the PETALOT hotend—strip joints tend to snap or jam during pultrusion. You can find splicing guides and alignment jigs on our FAQs page.
Tested Printer Profiles
These settings are tested starting points. Print a small test part, verify surface finish and layer bonding, and fine-tune as needed.
Sovol SV07
| Setting | Value |
|---|---|
| Nozzle temperature | 251 °C |
| Bed temperature (PEI) | 65 °C |
| Layer cooling fan | 5 – 25 % |
| Flow ratio | 1.24 * |
| Max volumetric speed | 3.5 mm³/s |
Download profile: PET_Sovol-SV07.zip
Flashforge Adventurer 5M
| Setting | Value |
|---|---|
| Nozzle temperature | 258 °C |
| Bed temperature (PEI) | 75 °C |
| Layer cooling fan | 20 – 40 % |
| Flow ratio | 1.22 * |
| Max volumetric speed | 4 mm³/s |
Download profile: PET_Flashforge-Adventurer-5M.zip
Elegoo Neptune 4 Pro
| Setting | Value |
|---|---|
| Nozzle temperature | 268 °C |
| Bed temperature (PEI) | 80 °C |
| Layer cooling fan | 5 – 18 % |
| Flow ratio | 1.22 * |
| Max volumetric speed | 3.8 mm³/s |
Download profile: PET_Elegoo-Neptune-4-Pro.zip
Flashforge AD5X
| Setting | Value |
|---|---|
| Nozzle temperature | 258 °C |
| Bed temperature (PEI) | 75 °C |
| Layer cooling fan | 20 – 40 % |
| Flow ratio | 1.22 * |
| Max volumetric speed | 4 mm³/s |
Download profile: PET_Flashforge-AD5X.zip
Bambu Lab A1
| Setting | Value |
|---|---|
| Nozzle temperature | 259 °C |
| Bed temperature (PEI) | 70 °C |
| Layer cooling fan | 20 – 40 % |
| Flow ratio | 1.3 * |
| Max volumetric speed | 4 mm³/s |
Download profile: PET_Bambu-Lab-A1.zip
Anycubic Kobra 3 V2
| Setting | Value |
|---|---|
| Nozzle temperature | 242 °C |
| Bed temperature (PEI) | 75 °C |
| Layer cooling fan | 30 – 50 % |
| Flow ratio | 1.17 * |
| Max volumetric speed | 3.5 mm³/s |
Download profile: PET_Anycubic-Kobra-3-V2.zip
Flashforge Creator 5
| Setting | Value |
|---|---|
| Nozzle temperature | 260 °C |
| Bed temperature (PEI) | 70 °C |
| Layer cooling fan | 25 – 45 % |
| Flow ratio | 1.2 * |
| Max volumetric speed | 5.5 mm³/s |
Download profile: PET_Flashforge-Creator-5.zip
Snapmaker U1
| Setting | Value |
|---|---|
| Nozzle temperature | 265 °C |
| Bed temperature (PEI) | 70 °C |
| Layer cooling fan | 30 – 55 % |
| Flow ratio | 1.18 * |
| Max volumetric speed | 5.1 mm³/s |
Download profile: PET_Snapmaker-U1.zip
* Flow ratio depends on the specific PET filament you make. Calibrate it for your own material and re-check it with every new batch.
How to Import a Profile
- Download the profile ZIP file for your printer.
- Open your slicer — OrcaSlicer, Bambu Studio or any other compatible slicer — and select your printer preset (add it from the printer list if it is not there yet).
- Go to
File > Import > Import Configsand select the zip file. - Select the new preset in the filament list. Use your printer’s default process preset.
- If your slicer does not import it that way, copy the JSON file into your user filament preset folder and restart the program.
The presets are self-contained (no inheritance), so they import without any “parent preset not found” errors.
Using a Different Slicer or Unlisted Printer?
If you are using PrusaSlicer or another printer model not listed above, use these general reference settings as a starting baseline:
- Nozzle Temperature: >= 255ºC
- Bed Temperature: >= 65ºC
- Flow Ratio / Extrusion Multiplier: >= 120% (1.2)
- Max Volumetric Speed: >=3.5 mm3/s
- Layer Cooling Fan: 20% – 40%
Happy recycling and happy printing!