PETALOT
| Qty | Component | Link |
|---|---|---|
| 18 |
 Screw M2.3 x 20mm (union between Large Gear and Pulley, fix PCB to wood base)
 |
↗ |
| 2 |
Screw M2 x 12mm (fix PCB to wood base) |
↗ |
| 3 |
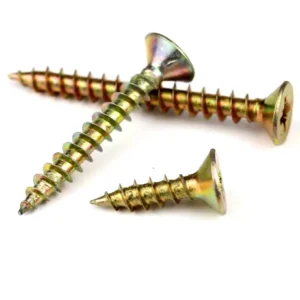 Screw M4 x 35mm (central wooden block, Angle Bracket)
 |
↗ |
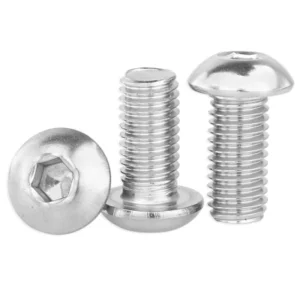
| 14 |
Screw M3 x 20mm (to screw the different parts to the wood base) |
↗ |
| 1 |
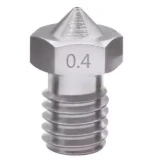 V6 Stainless steel nozzle 0.4 mm
 |
↗ |
| 4 |
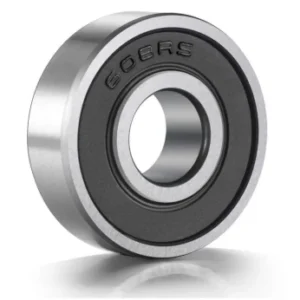 Bearing 8x22x7 mm 608RS
 |
↗ |
| 1 |
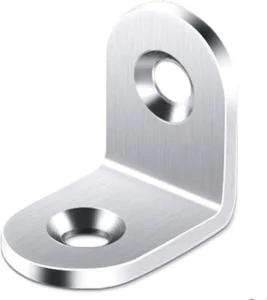 90 Degree Angle Bracket 20x20mm
 |
↗ |
| 2 |
 M8x105mm Threaded Rod (I use rod thereaded cut to 10.5cm)
 |
↗ |
| 4 |
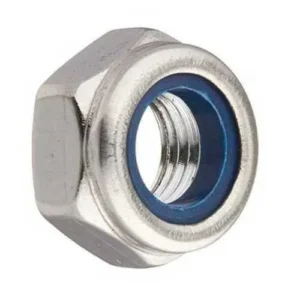 M8 Hex Nylon Insert Lock Nut Self-locking Locknut
 |
↗ |
| 1 |
 M3 8mm for the motor gear
 |
↗ |
| 2 |
 M3 10mm Self-tapping screws for electronic box and motor mount
 |
↗ |
| 1 |
 M3 nut for the motor gear
 |
↗ |
| 2 |
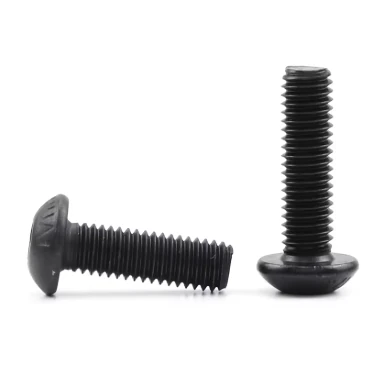 M3 14mm bolt for motor mount
 |
↗ |
| 50cm |
 Nylon thread 1mm
 |
↗ |
| 32cm |
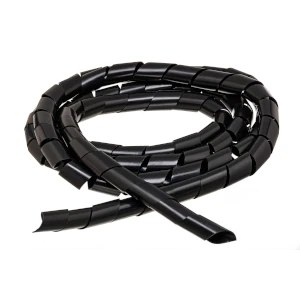 Cable Sleeve 6mm
 |
↗ |
Electronics for PETALOT
| Qty | Component | Link |
|---|---|---|
| 1 |
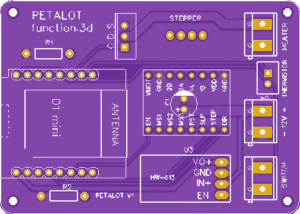 PCB, gerber for PCB fabrication, just upload this zip file to jlcpcb.com and order your PCB.
 |
↗ |
| 1 |
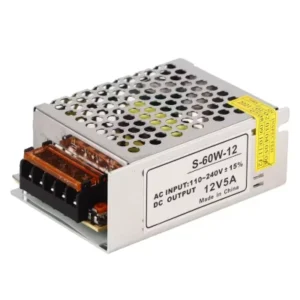 Power Supply 12v 5A
 |
↗ |
| 1 |
 Wemos D1 MINI V4.0 (any other version of WeMos that shares the output pins should work)
 |
↗ |
| 1 |
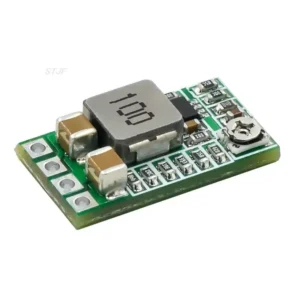 Mini DC-DC 12-24V To 5V 3A Step Down
 |
↗ |
| 1 |
 Mini Micro Limit Switch Roller Lever Arm (MS-1A-14.5-P)
 |
↗ |
| 1 |
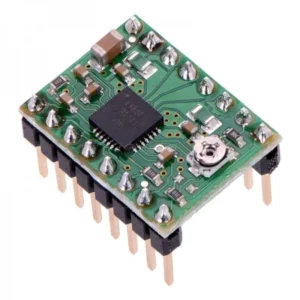 A4988 stepper motor driver+heat sink (It is quite easy to burn it, especially if you are a beginner, better 2 units)
 |
↗ |
| 1 |
 Nema 17 stepper motor height >=38mm D shaped shaft (17HS4401S-Dupont)
 |
↗ |
| 1 |
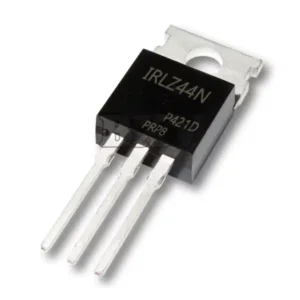 IRLZ44N MOSFET
 |
↗ |
| 1 |
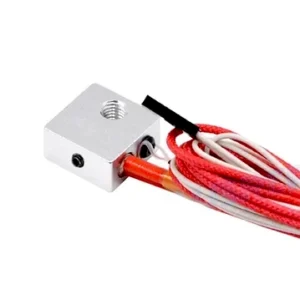 Hotend MK8 12V 40W
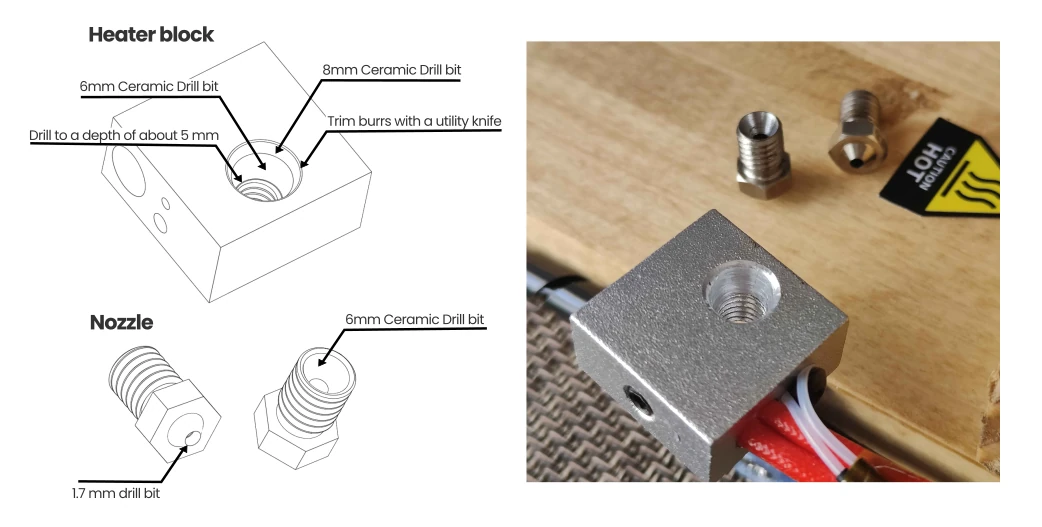 |
↗ |
| 1 |
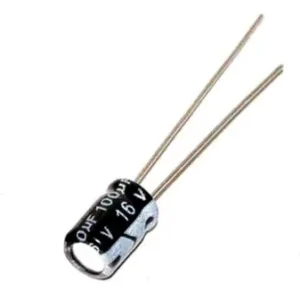 capacitor 16V 100uf
 |
↗ |
| 1 |
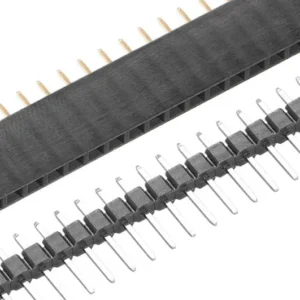 pin header Male and Female
 |
↗ |
| 3 |
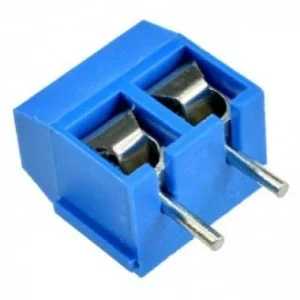 Terminal Block Connector 2P
 |
↗ |
| 1 |
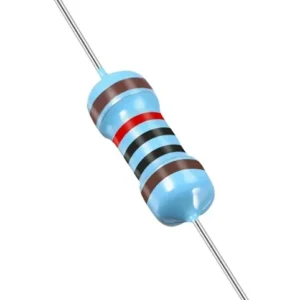 10K ohms resistors R2
 |
↗ |
| 1 |
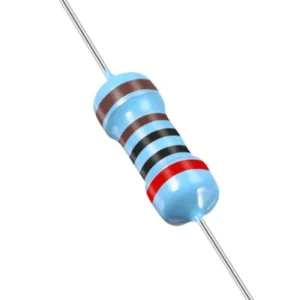 2K ohms resistors for R1 if firmware version >=1.4
 |
↗ |
| 30cm |
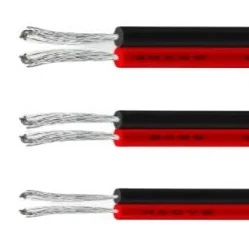 Wire 2P 30AWG (for limit switch filament sensor, digital signal, I use the very thin wires stripped from an old LPT1 printer cable)
 |
↗ |
| 25cm |
Wire 2P 18AWG (I use 25cm from the hotend heater cable) |
↗ |
| 1 |
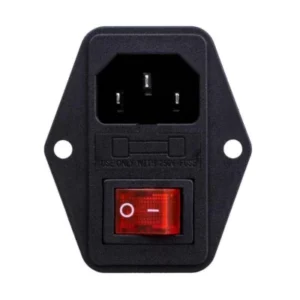 10A 250V Male Power Socket 3 Pin IEC320 switch + Fuse
 |
↗ |
| 9+2 |
 Terminal Wire Conector Crimp Insulated Ferrule 20AWG (PCB power, IEC320, heater) 24AWG (micro switch)
 |
↗ |
| 5+5 |
 4.8mm Female Terminal y Insulating Sheath
 |
↗ |
| 25mm |
 Heat Shrink Tube 5mm, for filament/strip sensor
 |
↗ |
| 40mm |
Heat Shrink Tube 2mm, for filament/strip sensor |
↗ |
Cortador de botellas
| Qty | Component | Link |
|---|---|---|
| 2 |
608 RS bearings (I prefer RS instead of ZZ) |
↗ |
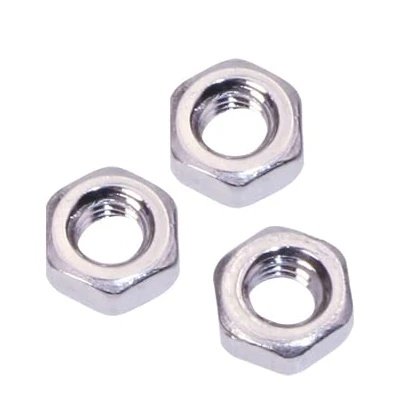
| 5 |
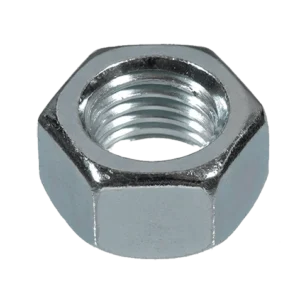 Hex Nut M8
 |
↗ |
| 3 |
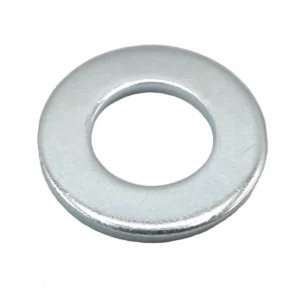 Flat Washer M8x16x1.5
 |
↗ |
| 2 |
M8 Hex Nylon Insert Lock Nut Self-locking Locknut |
↗ |
| 1 |
M8x50mm Threaded Rod (for high bearing, I use rod thereaded cut to 48mm) |
↗ |
| 2 |
M8x40mm Threaded Rod (for low bearing and guide, I use rod thereaded cut to 42mm and 30mm) |
↗ |
| 1 |
48cm M6 Threaded Rod (any 6mm rod will do, 48 cm is more than enough for 8-liter bottles) |
— |
| 2 |
Screw M4 x 35mm (to fix the cutter to a wooden base) |
↗ |
TOOLS
| Qty | Component | Link |
|---|---|---|
| 1 |
 1.7mm drill bit, for the nozzle
Tip: It’s sometimes helpful to start by drilling with a smaller bit (1.5 mm) and then finish with the 1.7 mm bit to prevent the hole from expanding to 2 mm |
↗ |
| 1 |
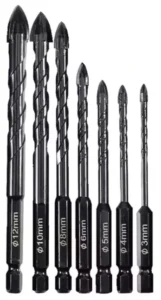 Tile Drill Bits Set for Glass Concrete Ceramic, 8mm, 6mm, for heater block
 |
↗ |
| 1 |
 80W Electric Soldering Iron LCD Digital display Temperature Adjustable
 |
↗ |
| 1 |
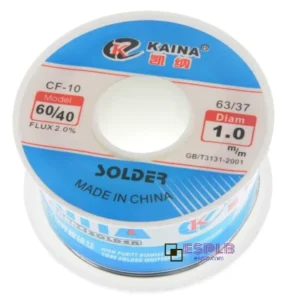 Solder Wire Tin 1mm
 |
↗ |
| 1 |
 Crimper Cable Cutter Wire Stripper Stripping Crimping Pliers Terminal
 |
↗ |
| 1 |
 Crimping Pliers Ferrule Sleeves Tubular Terminal
 |
↗ |
Soy de Ecuador, me interesa tu producto
I’ve been exploring for a little bit for any high-quality articles or blog posts in this sort
of house . Exploring in Yahoo I ultimately stumbled
upon this site. Studying this info So i’m glad to exhibit that I have
a very excellent uncanny feeling I discovered exactly what
I needed. I so much undoubtedly will make certain to don?t omit this website and provides it a look regularly.